
STEP-BY-STEP GUIDE
How to crimp a hydraulic hose fitting correctly
A fitting that looks tight is not necessarily crimped correctly. See how to choose the fitting and the die, how to find the insertion depth and how to check the result before the hose goes under pressure.
In short: hydraulic hose crimping fixes the fitting permanently by compressing its ferrule inside a die, to the diameter set by the manufacturer’s crimp chart. A correct result needs a fitting made for that hose, full insertion up to the mark, the right die, a diameter check after crimping and a pressure test with liquid.
In the workshop, on farm machinery or on a production line, a hydraulic hose works under high pressure and vibration. When a fitting leaks or pulls off the hose, the crimp is one of the first things to check. Below is the procedure manufacturers describe, with the points that decide whether the connection will hold.
Hydraulic hoses in our catalogue, each crimped with fittings made for it:


155°C HOT WATER R2 HYDRAULIC HOSE
For hot-water pressure washers, with 2 steel wire layers.
What is hydraulic hose crimping
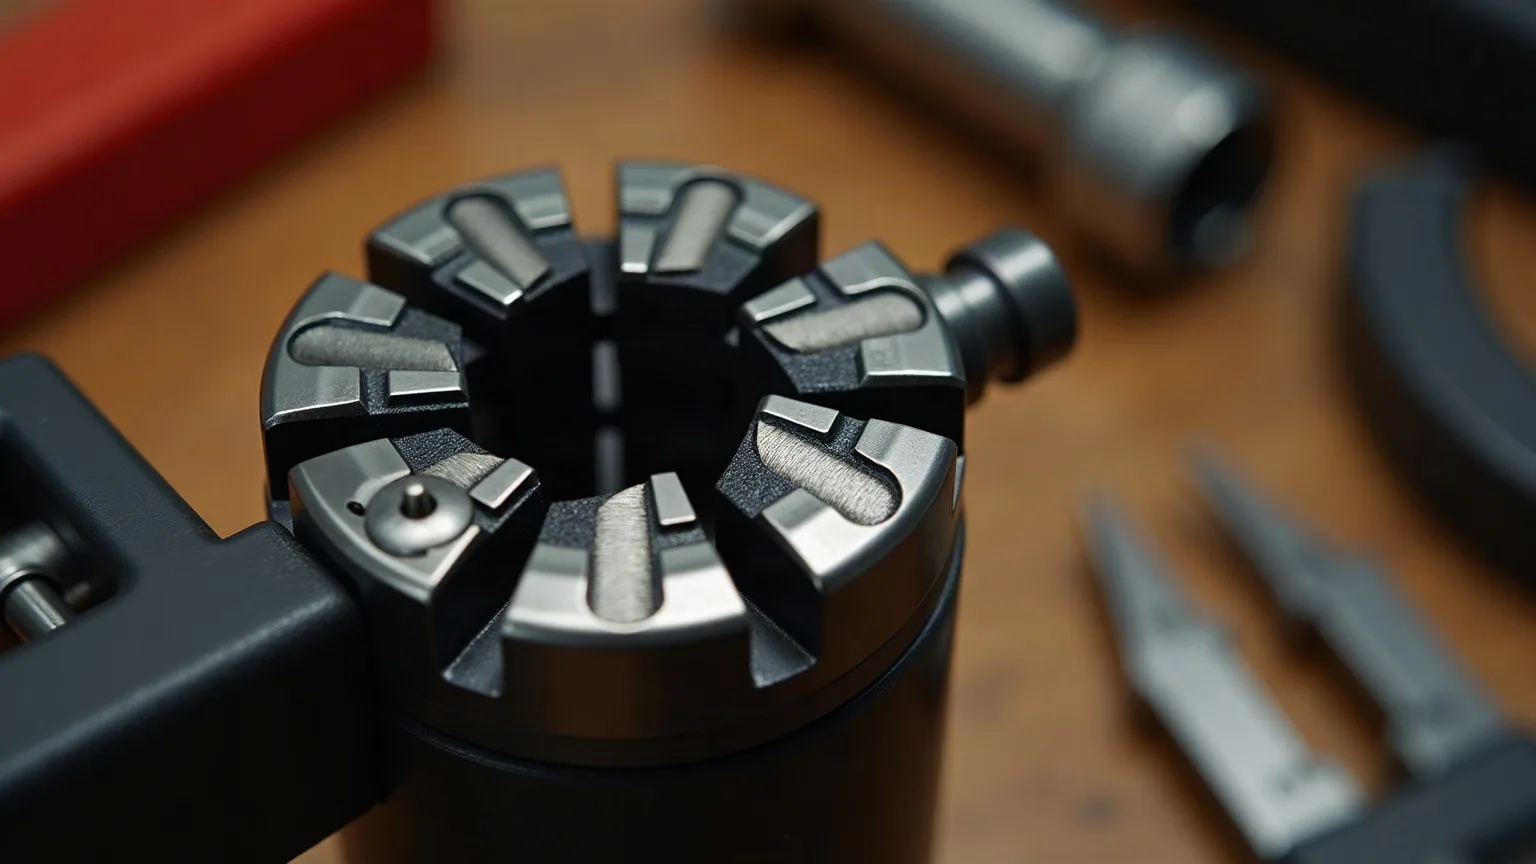
Crimping is the permanent attachment of a fitting to a hose by compression. A crimp fitting has two parts: the stem, which goes inside the hose, and the ferrule, which wraps around it from the outside. The crimper closes a segmented die around the ferrule and compresses it, so that it locks onto the rubber and seals on the stem.
Crimp fittings are permanent. They need a crimping machine and cannot be reused. There are also field-attachable fittings that go on with wrenches and a vise, but they handle lower pressure than crimped ones.
Do not confuse this with pressing multilayer pipe in building plumbing. Here we are talking about rubber hydraulic hoses with wire reinforcement. If you are not sure which hose you have, first see what 1SN, 2SN and 4SP mean on hydraulic hoses.
Choosing the fitting for the hose
A hydraulic fitting is chosen for the specific hose, not only for the thread it will screw into. The stem must match the hose’s inside diameter. If it does not, it stays loose and fluid leaks. The ferrule must suit the hose type: 2SN has two wire braids, 1SN has one, and each needs its own.
Hose manufacturers publish crimp charts for each of their hoses, with the fitting, the die and the final diameter. Tolerances vary from manufacturer to manufacturer and are not interchangeable. That is why the hose, the fitting and the chart must belong to the same system.
| What to check | Why it matters |
|---|---|
| Hose inside diameter | Sets the size of the fitting stem |
| Hose type (1SN, 2SN, 4SP) | Sets the ferrule and the die |
| Skive or no-skive | Some hoses need it, others do not |
| Connection thread | Must match the part it screws into |
| Crimp chart | Gives the die and the final diameter |
In our shop you will find male hose fittings and female high-pressure hose fittings, along with the rest of our high-pressure fittings. The same logic applies to other hoses with fittings, such as fuel delivery rubber hoses. Hose clamps, on the other hand, are for water or air at low pressure and do not replace crimping on a wire-reinforced hose.
Skiving and insertion depth
Cut the hose square and clean with a hose saw. If the length of the finished assembly is critical, allow for the length the fittings add. If the cut is not clean, file the ends. Wear safety glasses for both cutting and crimping.
Clean the inside of the hose with a cleaning projectile, a foam plug shot through with compressed air, once from each end. Cutting debris left inside can contaminate the circuit and cause the assembly to fail.
Skiving means removing the outer rubber cover where the ferrule will sit. Some hoses require it, while others are made for no-skive fittings, and the manufacturer’s chart tells you which applies. Where it is needed and skipped, the heat of the fluid can soften the outer cover and the fitting can pop off.
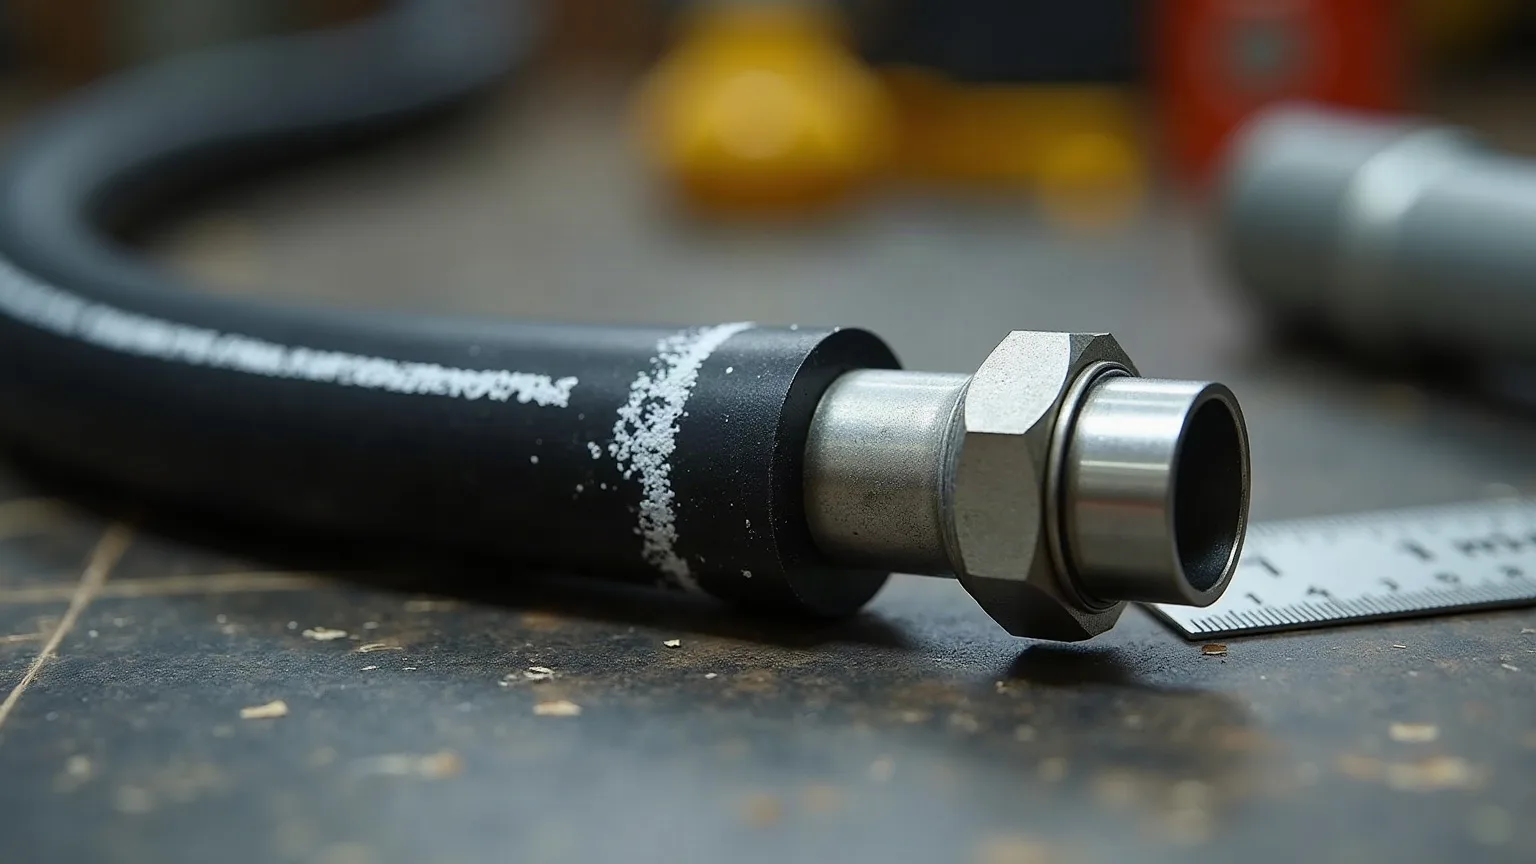
Insertion depth is found with a depth block or by measuring from the hose end. Mark it with a thick chalk line around the hose and push the hose into the fitting until the mark reaches the edge of the ferrule. Lubricate the rubber if needed, unless the hose has spiral reinforcement, where the instructions say not to lubricate.
Setting up the crimper and die
A crimper is not set by eye. From the manufacturer’s chart or the decal on the crimper you take two things: the crimp die and the final diameter. Dies are designed for specific hoses and fittings, and with the wrong die gaps can remain in the connection. The crimper and the measuring tools must be calibrated before you start.
Die
Fit the die from the chart and lubricate its bowl with lithium grease as needed.
Position
Pass the hose through the die and place the ferrule where the crimper instructions show.
Crimp
Run the crimper until the collar is fully seated at the bottom of the die. Do not touch the machine before that.
Measure
Measure the diameter on a flat section of the ferrule and compare it with the chart.
The same die does not fit everything. When the hose size or type changes, the die changes too, always according to the chart.
Leak checking
Checking starts before pressure. If the crimp diameter is not the one on the chart, the hose is not put into service. Check the chalk mark as well: if it has moved away from the ferrule, the hose or the fitting shifted during crimping and the assembly is rejected. Then clean again and cap both ends until installation.
The test pressure and duration are set by the hose standard or by the customer. A common proof test is done at twice the working pressure. The pressure is held for 30 to 60 seconds and there must be no sign of failure or leakage. The test medium is water or another liquid suitable for the hose, and all air must be expelled before the test.
Common crimping mistakes
Most mistakes cannot be seen. The fitting looks tight, but the connection fails once the hose works under pressure:
- A fitting or ferrule from a different manufacturer than the hose, which can lead to a burst hose, a leak or a blown-off end.
- A hose not pushed in up to the mark, with the risk of loosening and pulling out of the fitting.
- A die that is close enough, instead of the one the chart specifies.
- Crimping without measuring the diameter afterwards.
- Skipping skiving on a hose that requires it.
- A hose not cleaned after cutting.
- Pressure testing with air instead of liquid.
- Reusing a crimp fitting, even though it is a permanent connection.
Frequently asked questions
Can I crimp a hydraulic fitting without a crimper?
Can I use another manufacturer's fitting on my hose?
How do I know the crimp was done correctly?
Does the hose need skiving before crimping?
Sources
- Cross Company, Technical Guide: Step-By-Step Hydraulic Hose Assembly. https://www.crossco.com/resources/technical/step-step-hydraulic-hose-assembly/
- Cross Company, Never Mix & Match: Hydraulic Hose & Fittings Tips. https://www.crossco.com/blog/never-mix-match-hydraulic-hose-fittings-tips
- Titan Fittings, Why The Right Crimp Spec Is Important For Hydraulic Hose End Fittings. https://www.titanfittings.com/Articles.asp?ID=394
- Hydraquip, How to Crimp a Hydraulic Hose. https://www.hydraquip.com/how-to-crimp-a-hydraulic-hose/
- Kimball Midwest, Crimp Fittings vs. Field Attachable Hose Ends in Hydraulics. https://blog.kimballmidwest.com/crimp-fittings-vs.-field-attachable-hose-ends-in-hydraulics
- Hose and Fittings, Testing Hydraulic Hose Assemblies. https://www.hoseandfittings.com/product-groups/hydraulic-hoses/testing/
- Power & Motion, Guidelines for Conducting Hose Testing. https://www.powermotiontech.com/hydraulics/hose-tubing/article/21887240/guidelines-for-conducting-hose-testing
Request a quote or information
Fill in the form and we will get back to you as soon as possible.